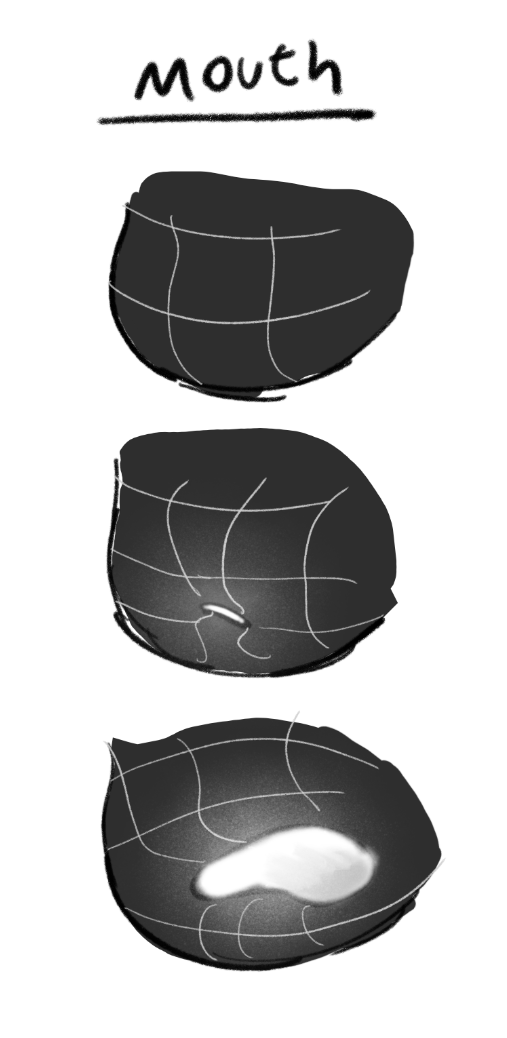
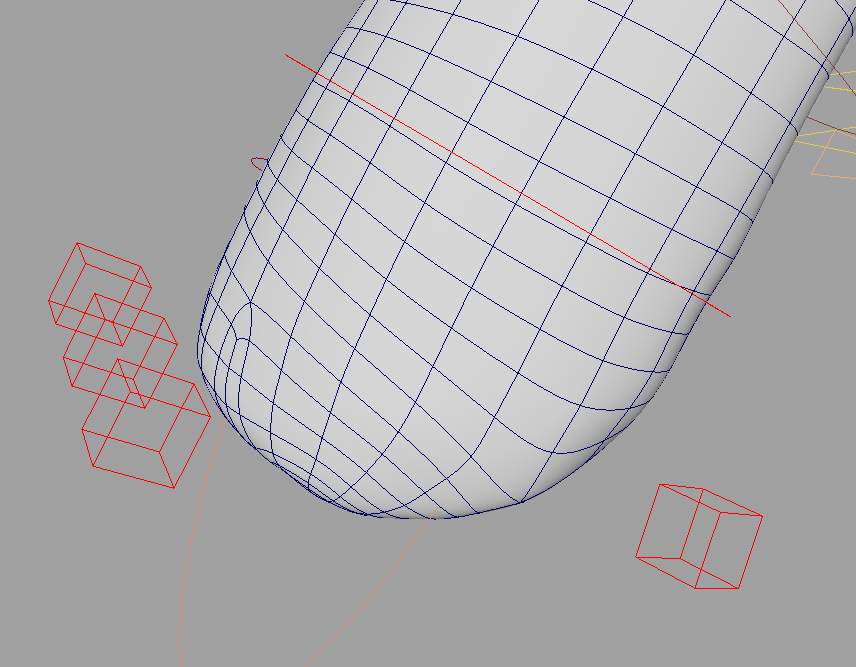
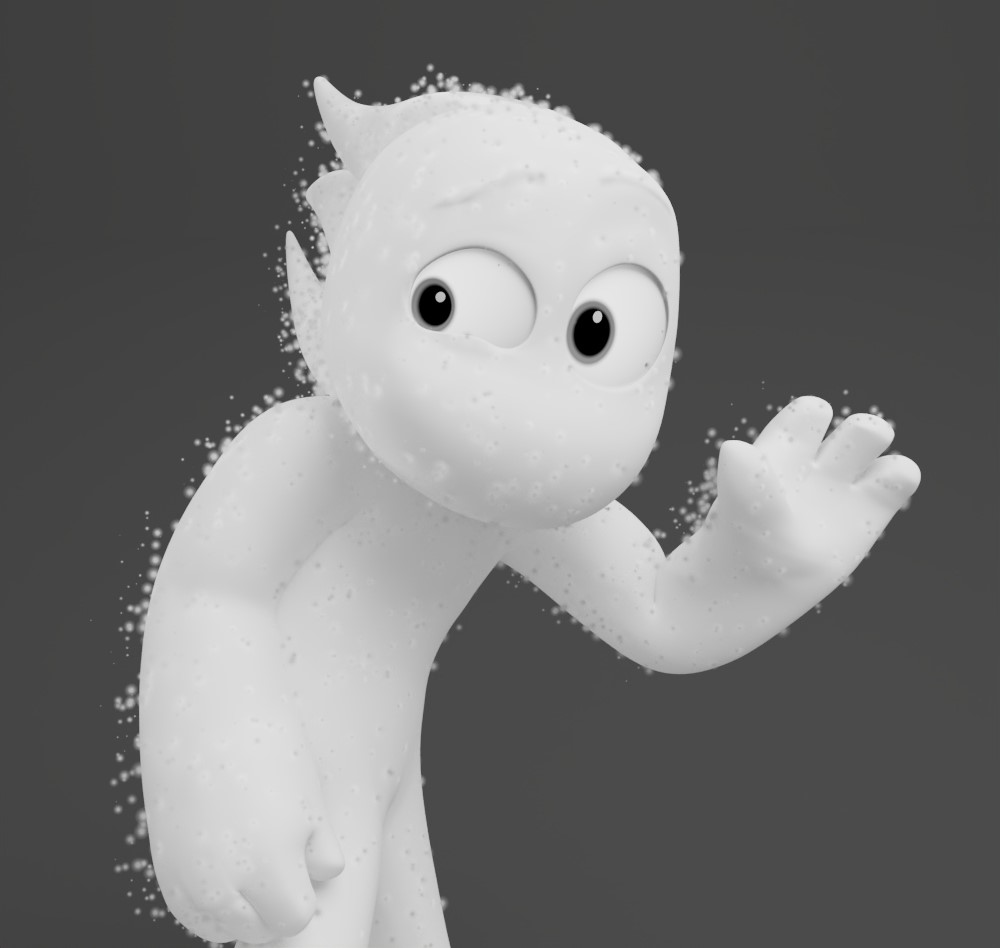
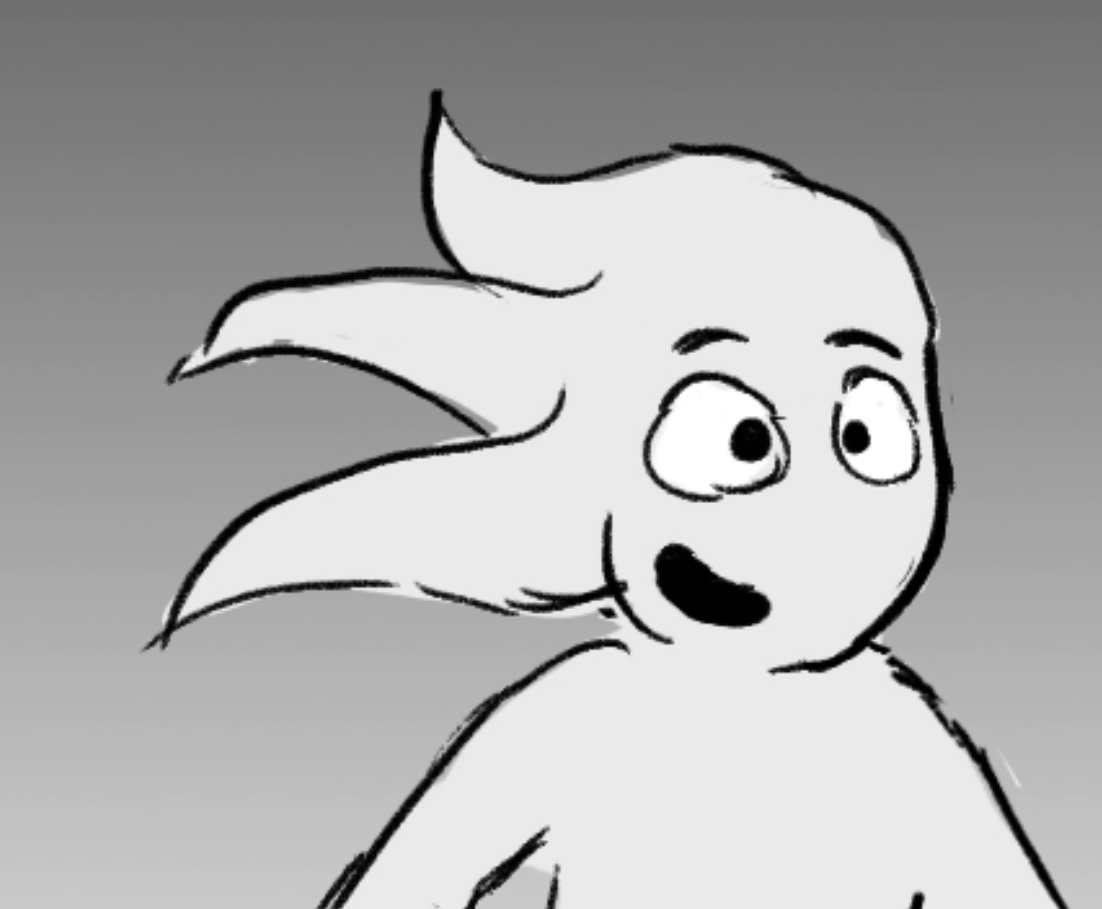
During my thesis project, Total Opposites, I encountered many rigging challenges. During the storyboard phase, while developing the story and characters, I identified several unique characteristics that I wanted to preserve during the 3D phase of the film. In this post, I will break down the unique abilities of my character rig and compare the storyboards to the final results.

Please note that this thesis project is still in progress. As the film progresses, I will update this post accordingly.

Challenge 1: Retractable Mouth

Part of my character’s appeal was the moments when their mouth would disappear from their face, drawing the audience’s attention to their eyes. I also wanted to challenge myself and make the film stand out with unique rigging innovations, and this was an aspect I was determined to conquer.

Storyboards with and without a mouth.

The final result

The process was challenging. I knew what I wanted and, at the time, tried to expand my knowledge of Bifrost in Maya. I thought I could create a mouth by using an external hidden object to sculpt the mouth hole with another object. However, after extensive research and time spent, I hit a deadline and couldn’t push further. As a result, I shifted to another method using blendshapes instead.

Illustration of the Rig Goal

R&D using Bifrost

After countless attempts, I ran out of time to achieve my desired result with Bifrost. I decided to base my mouth rig on blendshapes. I created two models: one with a mouth wireframe and one without a mouth. Whenever I wanted to change the mouth, I would swap between the two models within a single frame using Mouth Switch and use the Blend Mouth attribute to transition from no-mouth wireframe to a full-mouth wireframe.

Added Mouth Attributes on Jaw Ctrl

Mouth Switch: 0 Mouth Blend: 0

Mouth Switch: 1 Mouth Blend: 0

Mouth Switch: 1 Mouth Blend: 1

The issue with this approach was that the joints controlling the mouth model caused the mouth to distort during the blend applied by the Mouth Blend attribute. To resolve this, I ended up sculpting the correct mouth shape frame by frame to achieve the intentional changes I wanted for the mouth.

Problem: Geometry
intersects with itself

Solution: Sculpting each frame
using “In-Between Targets”

Result in Wireframe Mode

In the end, this choice really makes the character feel more alien and unlike humans, which helps make my film stand out. On top of that, guiding the audience’s focus to my character’s eyes creates a much stronger emotional impact.

Challenge 2: Retractable Fingers

Another choice I made in my storyboards that I really liked was the simplified hands, where the characters could extract their fingers when they chose to. I wanted to keep this in the film to further emphasize the character’s alien nature and uniqueness. The process was simple using blendshapes, I created a version with and without the fingers.

Square Ctrl for Each Finger

Wireframe: Fingers On

Wireframe: Fingers Off

Final Result Example

Challenge 3: Adjustable Head Tails

The final challenge I faced, which was relatively simple to produce, was the head tails on both of my characters. I rigged one tail with five joints and a main controller. I also added an additional locator to be used as an aim. The goal with the aim controller was to integrate it with the Overlapper script, but I realized midway through that due to the movement of the head and the tail, the overlapper script would break. I think I might develop my own customized overlapper if I have spare time next semester.

Rendered Result (In Progress)

Storyboard Target

Single Tail Rig

Tails are Parented to the Head

Bonus: Material Switch Between Characters

Without revealing my film’s story, I basically have only one character. The only difference between the two is that one is white and the other is black. Since I only needed to work with one character, I wanted both characters to come from the same file, but with different namespaces. I added a custom attribute to my main controller that switches between the characters’ textures, which I loved! It took me a while to understand how to work with logic nodes, but I got the hang of it quickly. Here’s the showcase—

Material Switching Through Custom Attribute

If you’re interested in seeing the film for professional reasons, feel free to reach out to me at felixeyal1@gmail.com.
Other than that, that’s it! I learned a lot about rigging throughout this process, and I now know that anything is achievable. It just takes time and patience to figure out the best way to solve a challenge.